Showing posts with label sinful colors. Show all posts

Friday, June 24, 2011

Nail Colors - Summer 2011

       I love, love, LOVE nail polish!  But out of all four seasons, summer nails are the best!  There is nothing better than bright, cheerful colors during the summer.  Here are some of my favorite colors... all from the brand Sinful Colors. Sinful Colors are all only $1.99 or less (thumbs up for cheap price!), are great quality, and can be found at many drugstores (I know Walgreens and RiteAid carry them).  
Boogie Nights

Pink Forever

Love Nails

Cloud 9

Savage

Sailboats and Seashells, 
Hope

Thursday, June 23, 2011

A Few of my Favorite Things :)

J. Crew Chino Shorts in Shocking Pink
easily one of my favorite pairs of shorts... ever!

Mizuno Wave Rider 13
i'm sad that mizuno came out with a newer model because they just aren't as good as this model...

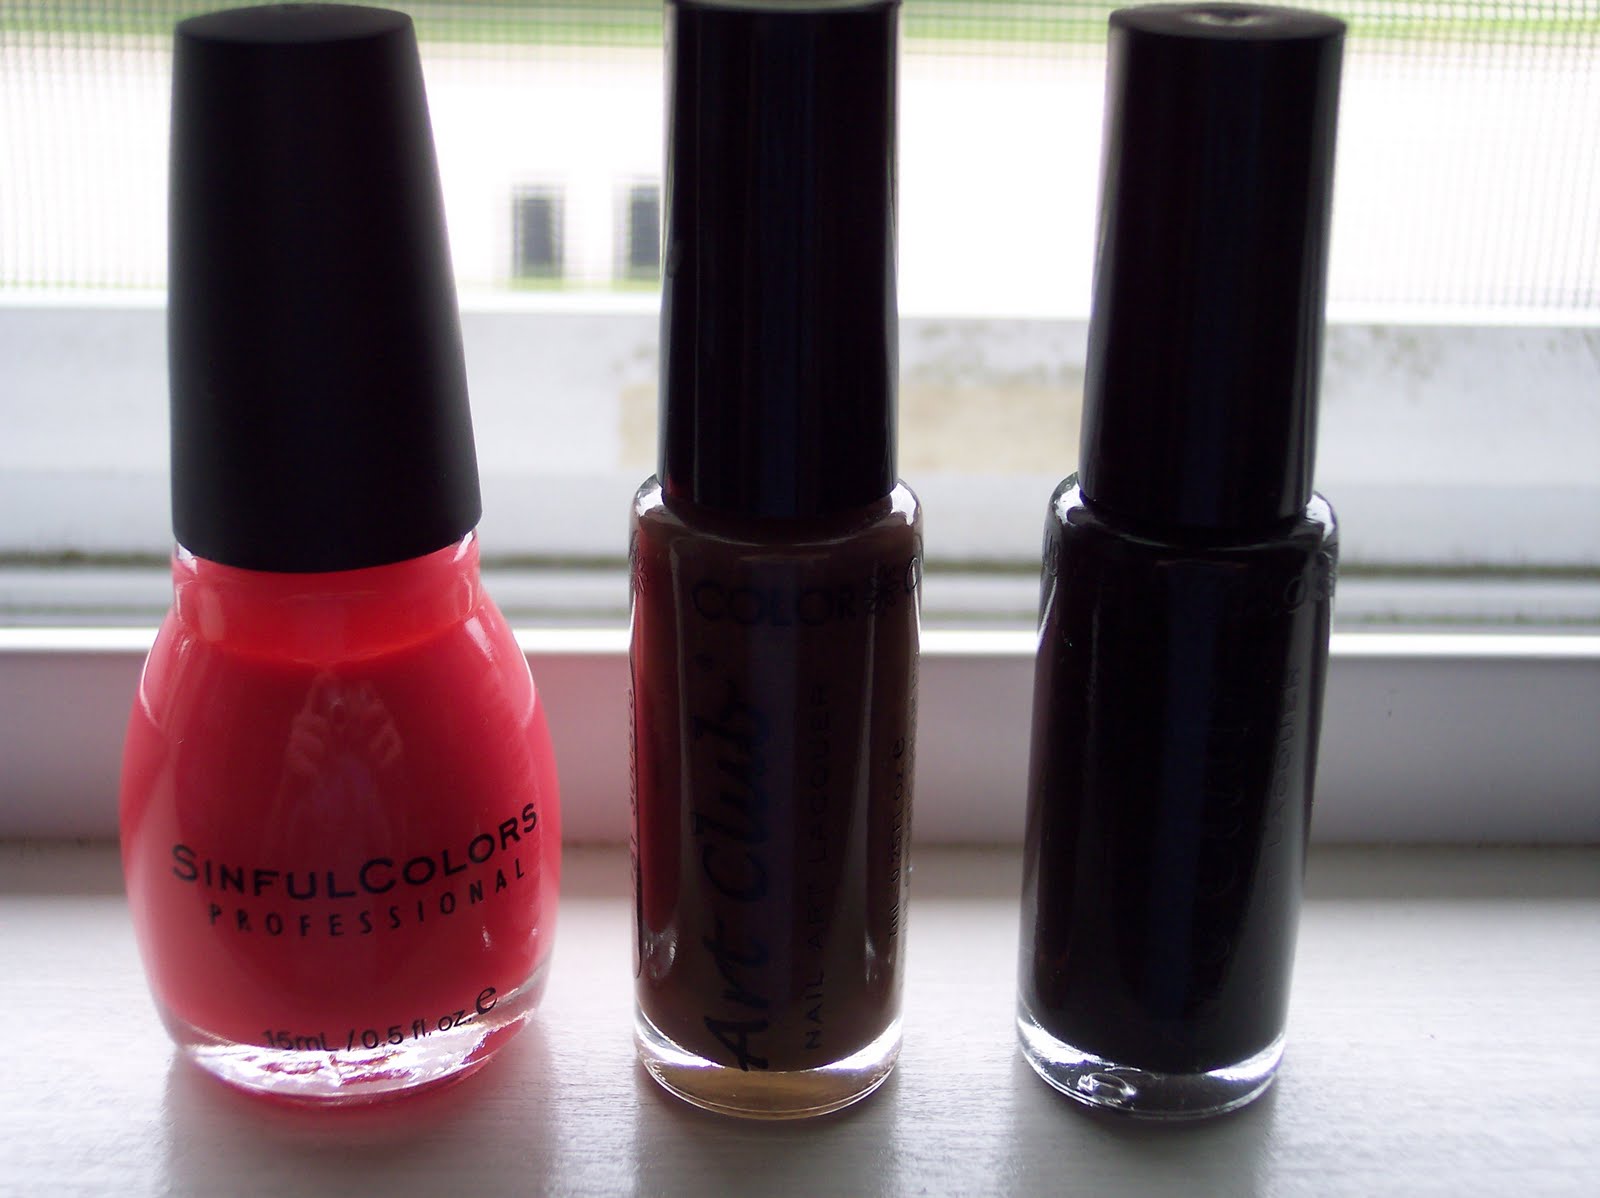
Sinful Colors Nail Polish in "I Miss You"
just bought this... at only $1.99 i couldn't pass it up
Sinful Colors is my favorite nail polish brand because it's so cheap but great quality

Obnoxiously Big Water Bottle
i drink 1.5 of these a day in order to stay hydrated
Body Shop Lip Butter in Mango
one of my favorite lip balms


D.I.Y. Cheetah Print Manicure!

     I am completely obsessed with nail polish!!  It's actually a terrible obsession because I change my nail polish constantly (I'm talking 2-3 times a week...).  But I just love the look of clean, artistic nails!  I've decided to post some of my manicures just for fun... Today, I did a cheetah-inspired manicure.  Hope you enjoy!
(FYI... Ignore the grotty cuticles... I have to apply my cuticle moisturizer...)


Step 1: Paint nails desired color.
I chose to paint the base color "Boogie Nights" from Sinful Colors.  It's a coral-orange color... perfect for summer!  I used 2 coats... but this number with vary depending on the color and brand.


Step 2: Add large brown dots.
I decided to only do the cheetah print on accent nails... mostly because I was too lazy... #hellosummer Note: these dots do not have to be perfect circles; blobs look great!  I used polish from the brand Art Club.


Step 3: Outline top and bottom of the brown dots with black.
Again, this does not have to be perfect.  This black is also from Art Club.


Step 4: Add small brown dots.
This step makes the manicure look more "complete."


Step 5: Apply one coat of your favorite top coat.

I hope you enjoyed this tutorial and got some inspiration!  Comment with any ideas for future nail art tutorials. 

Sailboats and Seashells,
Hope